
I just came back from a one month vacation in Korea visiting my family. While on vacation, I decided to shell out for a makeup lesson partly because I wanted to see what I’d look like in idol makeup lol. My parents live in Daejeon and I was too lazy to go to Seoul just for this so I found an artist in town on Naver Maps. If I were willing to go to Seoul, I would have gone to [this MUA](https://www.instagram.com/__leejin__/) for just a makeup session rather than a lesson.
* Cost: 150,000 KRW (this is on the lower side)
* Artist page: https://www.instagram.com/makeupbyraon/
* Duration: 2 hours
I don’t have double eyelids so my search was mostly focused on someone who showcased single lid makeup on their IG page. Most MUAs only have wedding makeup on their pages and I was more interested in getting as much glam as I could, so the actual style of makeup didn’t really factor in. I don’t think the vast majority of MUAs speak English well enough to give a lesson, so if you don’t know Korean you would have to just go for a makeup session.
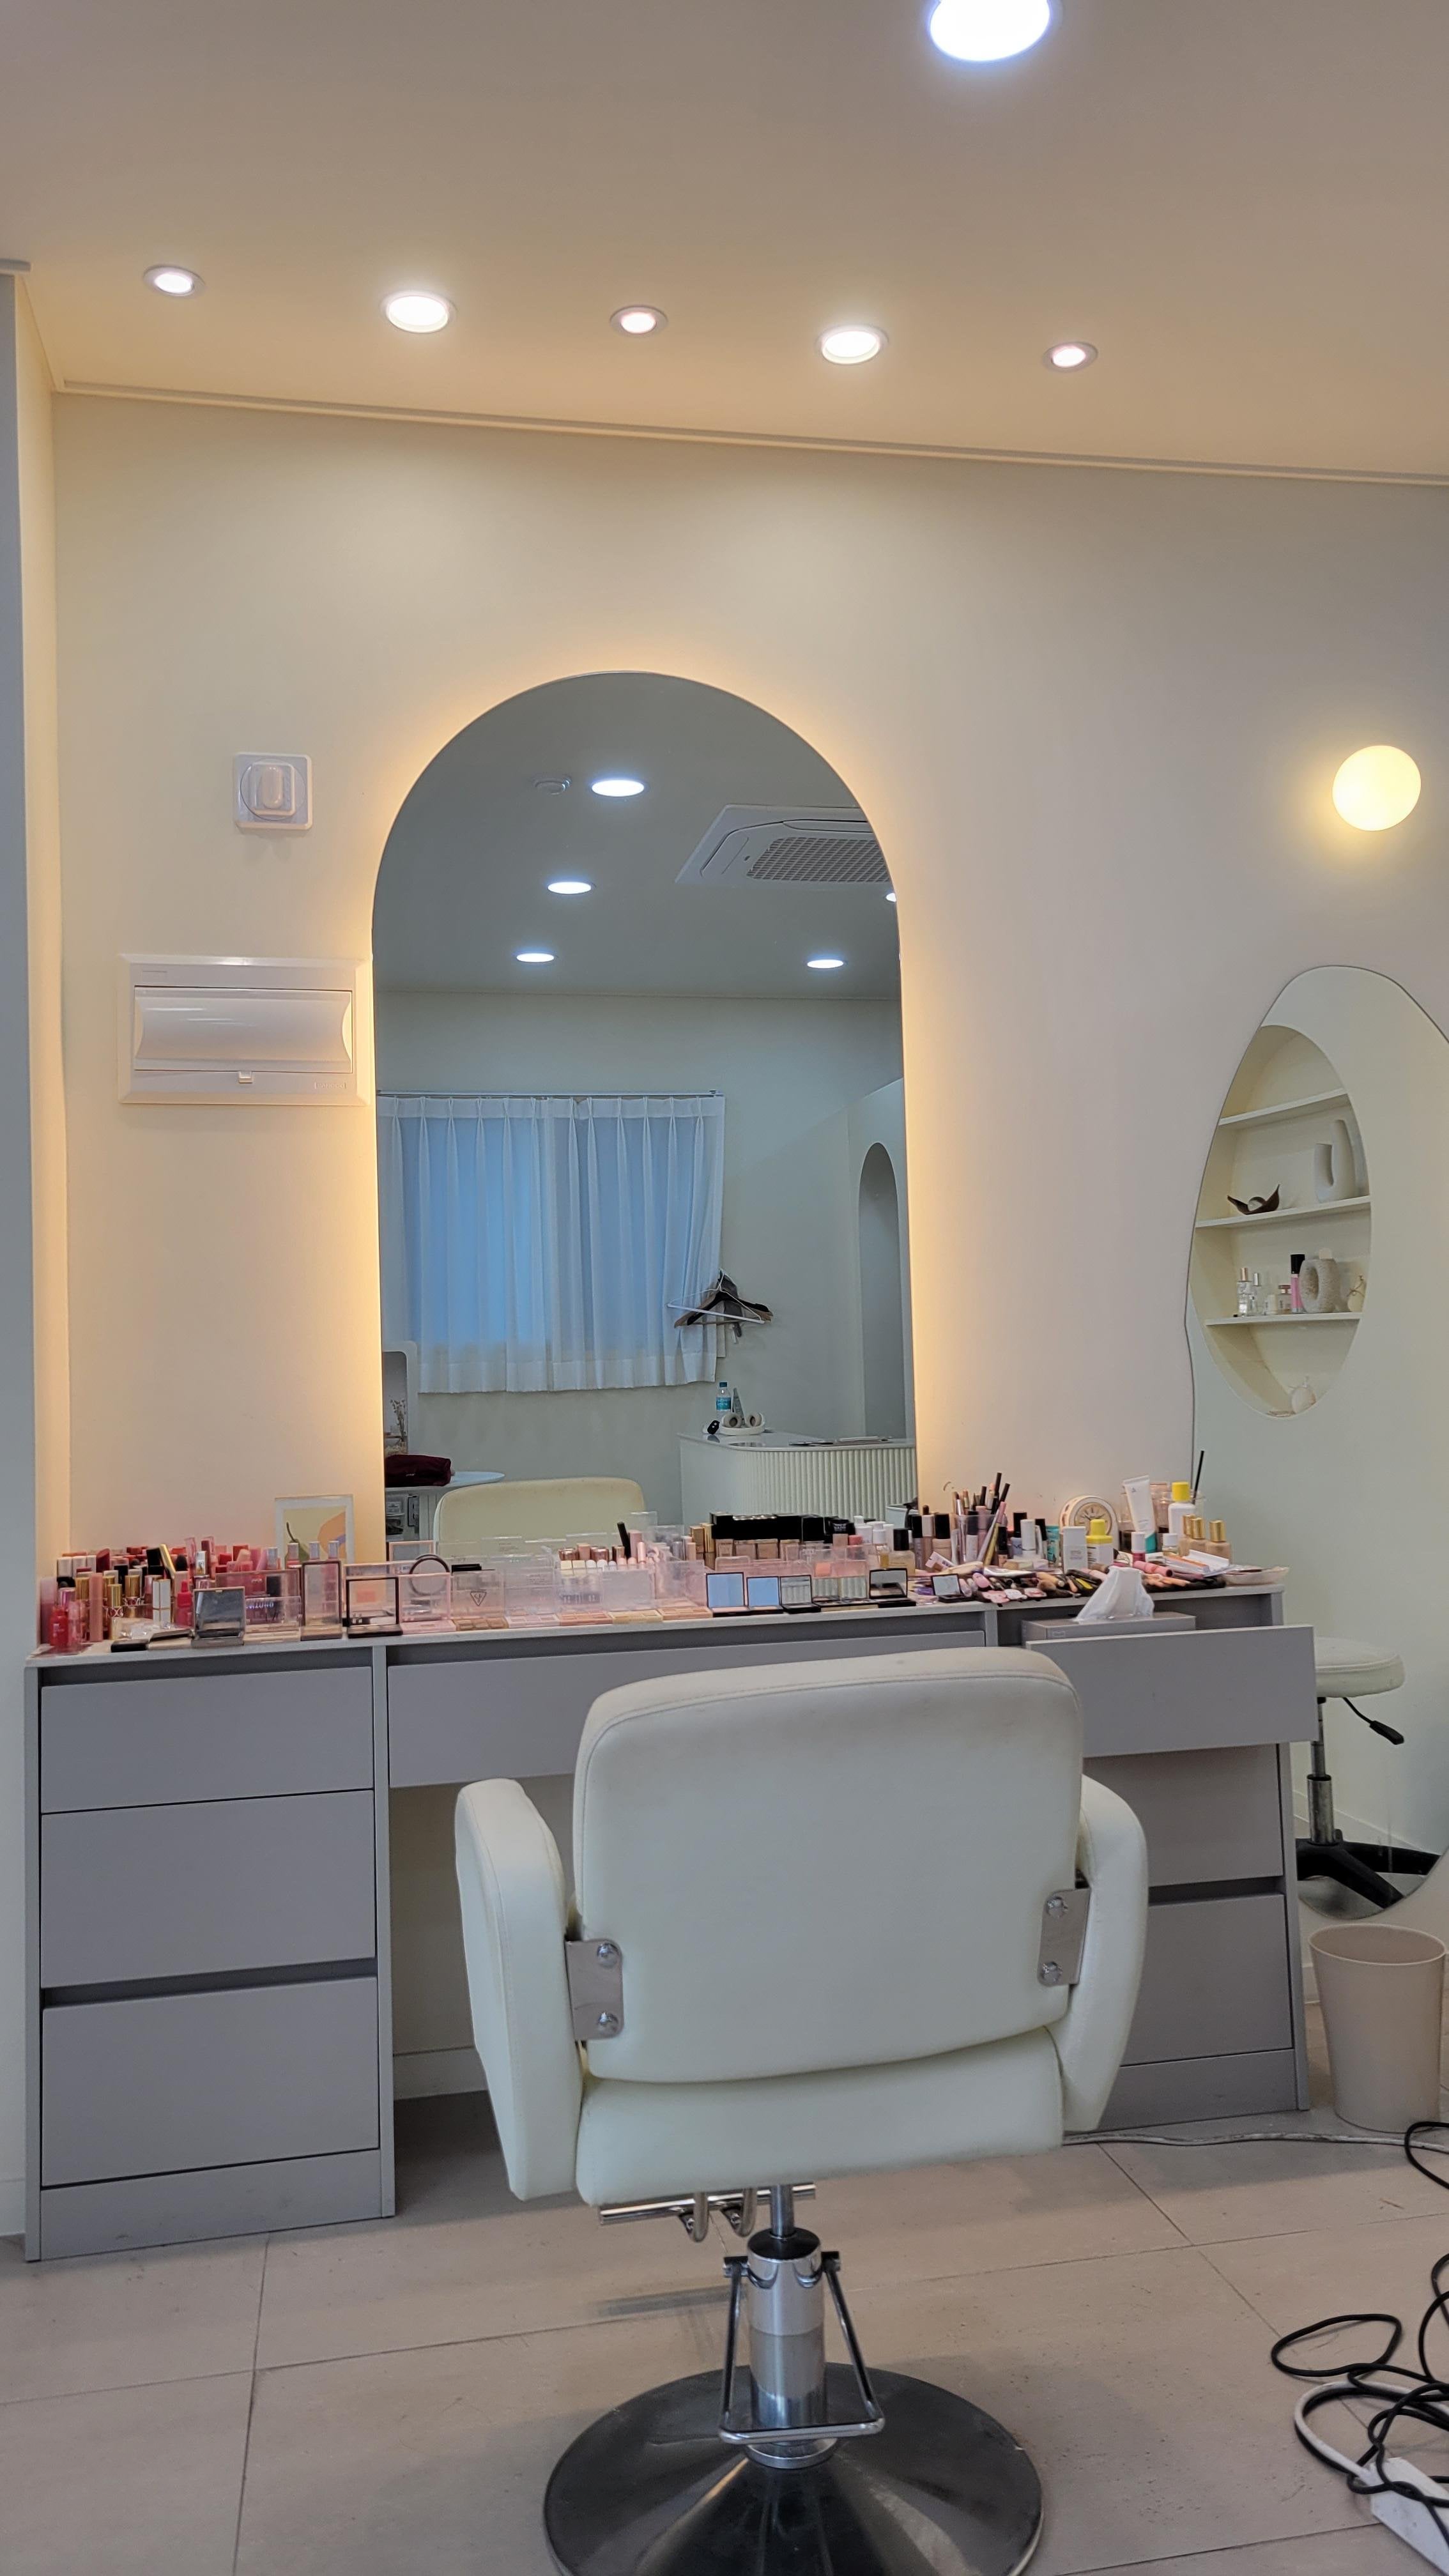
[Inside of the makeup studio](https://i.imgur.com/KXtPjvO.jpg)
[Before/after](https://i.imgur.com/mOeIel3.jpg)
I brought my usual makeup bag as asked. Once I sat down, the artist asked whether I knew my personal color from a pro session or experience. I thought I was summer cool but after draping several color palette sheets she thought I was spring warm. To be honest this was done under artificial lighting and I still disagree with the spring warm assessment, but I agreed to have her do half of my face in that color palette to see if she’s right. What you see in the picture on the right (my left) is the half that she did in a warm color. I asked for “PONY style” makeup because I wasn’t interested in paying 150k won to learn how to do anything natural 😂
For each step, she explained what each product is used for. For example the powdering is important for reducing the appearance of pores as much as making the foundation last. She also showed me brush/tool is appropriate for each step. Most of the information is specific to my face but I usually have a lot of trouble doing heavy eye makeup and the most important thing I learned is that I am allowed to really exaggerate the real estate around my eyes. I’ve never drawn this much eyeliner by myself. Other than the specific area of application being tailored to my face, the tips were pretty much same as what you’d get from Youtube.
After the right half was done, I was asked to do the left half myself using the same products. During this step she was able to pinpoint what I was doing wrong, like holding the brush incorrectly or not anchoring my hand while applying eyeshadow.
At the end, I asked whether I should just use the same technique if I wanted to use my cool toned products and she actually went ahead and quickly redid the left half, so what you see in the picture is half cool and half warm.
Overall I thought the lesson was worth the time and money, but as I said the biggest caveat is that it’s really hard to find an artist who offers lessons in other languages.
Products used:
* Prep – Dr Jart ceramidin cream
* Base – Estee Lauder double wear foundation (cool vanilla) + my existing Jungsaemmool cushion in pink light
* Powder – Laura Mercier translucent loose setting powder, Givenchy prism powder
* Brow – Colorgram slim brow #02 natural brown, Kiss Me eyebrow mascara
* Shadows – Innisfree essential shadow palette #02, Dasique shadow palette nude potion (warm side) / Peripera all take mood in muteful rose (cool side)
* Glitters – Bling Glow cream powder shadow rose gold, Misha dewy glossy eyes white beach, Tony Moly lovely beam going glitter gold beam
* Blush – Clinique nude pop, Laura Mercier blush guava
* Contour – Misha cotton contour smoked hazel, Dasique cool blending
* Lip – Tom Ford nubile, Banila Co water drop veil tint love me, Tony Moly get it tint waterful butter rose tart
by jsqdressesforwork